Introduction to 35-ds3chipdus3
The 35-ds3chipdus3 is a specialized hardware or firmware component widely used in advanced systems for enhanced performance and optimized functionality. Whether you are a professional technician or a tech enthusiast, understanding how to install 35-ds3chipdus3 correctly is crucial to ensure seamless integration and operation. This component is designed to enhance system compatibility and reduce potential errors during runtime. Many users struggle with its installation due to lack of clear instructions or technical expertise. In this guide, we provide a detailed, step-by-step process that simplifies the installation of 35-ds3chipdus3, along with essential precautions, troubleshooting tips, and post-installation checks to ensure everything runs smoothly.
Table of Contents
Understanding the Purpose of 35-ds3chipdus3
Before learning how to install 35-ds3chipdus3, it’s essential to understand its primary purpose. The 35-ds3chipdus3 module enhances communication between system components, improves data processing speeds, and ensures stable operation even in demanding environments. This chip/module is often integrated into high-performance systems, industrial machines, or custom-built computers to achieve optimal efficiency. Installing it properly helps avoid hardware conflicts, compatibility issues, and potential system failures. Additionally, correct installation supports longer lifespan and stable functionality of the connected system. Whether you’re installing this on a new system or upgrading an existing one, understanding its function will help you avoid mistakes during the setup process.
Pre-Installation Requirements
Gather Necessary Tools and Materials
To ensure a smooth installation process, gather all necessary tools before starting. This includes screwdrivers, anti-static wristbands, a clean working surface, and the 35-ds3chipdus3 module itself. Having the official user manual or installation guide handy will also be beneficial.
Check System Compatibility
Verify whether your system supports the 35-ds3chipdus3 module. Compatibility details are usually available in the system’s hardware manual or on the manufacturer’s website. Installing incompatible components may cause malfunction or complete system failure.
Backup Your Data
Before installing any new hardware, always back up your data. Although installing 35-ds3chipdus3 does not typically affect stored data, unforeseen errors may lead to data loss.
Step-by-Step Installation Guide
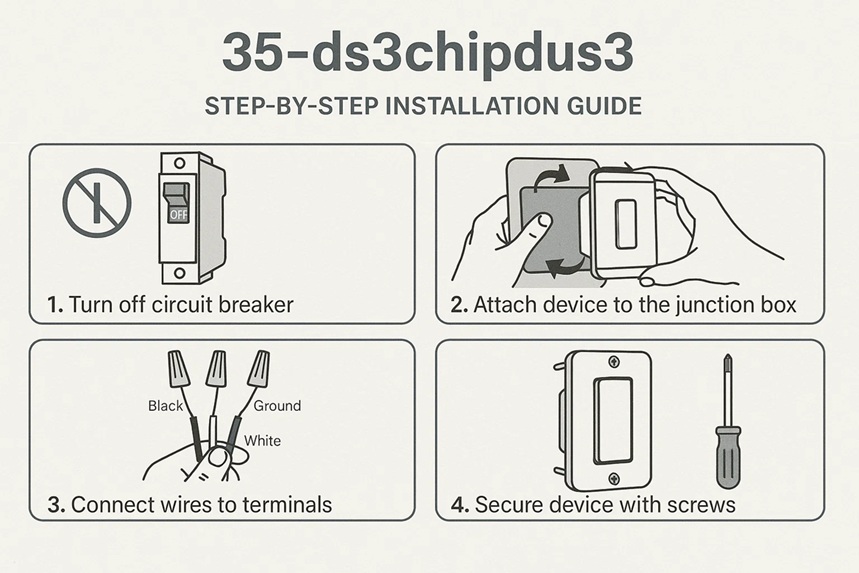
Step 1: Power Down the System
The first step in learning how to install 35-ds3chipdus3 is to power down the system completely. Disconnect the power source and unplug all external devices to ensure safety. Wait for a few minutes to allow residual electricity to discharge.
Step 2: Open the System Case
Use the appropriate screwdriver to open your device or system case. Handle the casing carefully to avoid damaging internal components. Place removed screws in a safe location to ensure they are not lost during the process.
Step 3: Locate the Installation Slot
Refer to your system manual to locate the correct installation slot for the 35-ds3chipdus3 module. The slot may be labeled or highlighted based on the device type. Identifying the right slot is crucial to ensure proper connection and avoid short circuits.
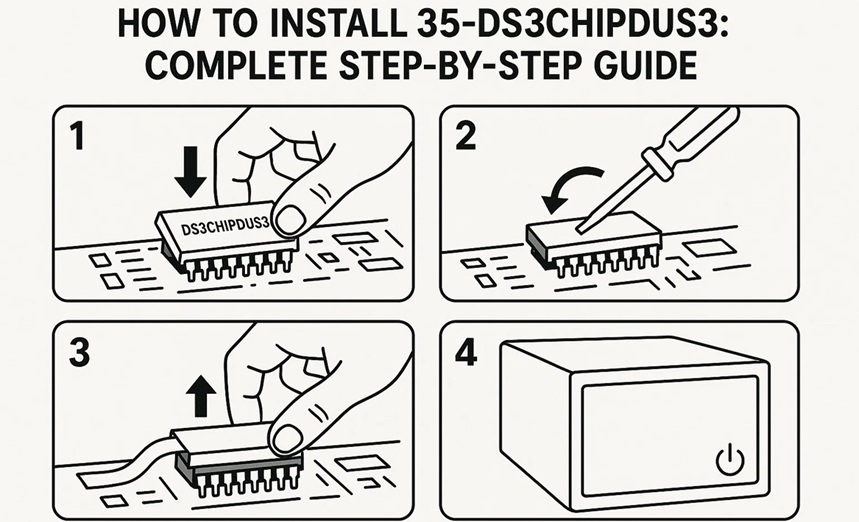
Step 4: Insert the 35-ds3chipdus3 Module
Carefully align the module with the designated slot. Do not force it into place as this may damage the connectors. Gently press down until the module is securely seated. Ensure that the pins or connectors align perfectly.
Step 5: Secure the Module
Once the module is inserted, use any provided locking mechanisms or screws to secure it. This step prevents movement or dislodging during operation. A properly secured module ensures stable performance and minimizes risks.
Step 6: Close the System Case
After installation, close the system case carefully. Ensure all screws are tightened properly but avoid over-tightening, as this may cause damage to the case or internal components.
Step 7: Reconnect Power and External Devices
Reconnect the power supply and any external devices you disconnected earlier. Ensure all cables are firmly attached before proceeding to the next step.
Step 8: Power On and Test the System
Turn on the system and check if it recognizes the 35-ds3chipdus3 module. If your system requires driver installation, follow the on-screen instructions or use the manufacturer’s software package.
Post-Installation Configuration
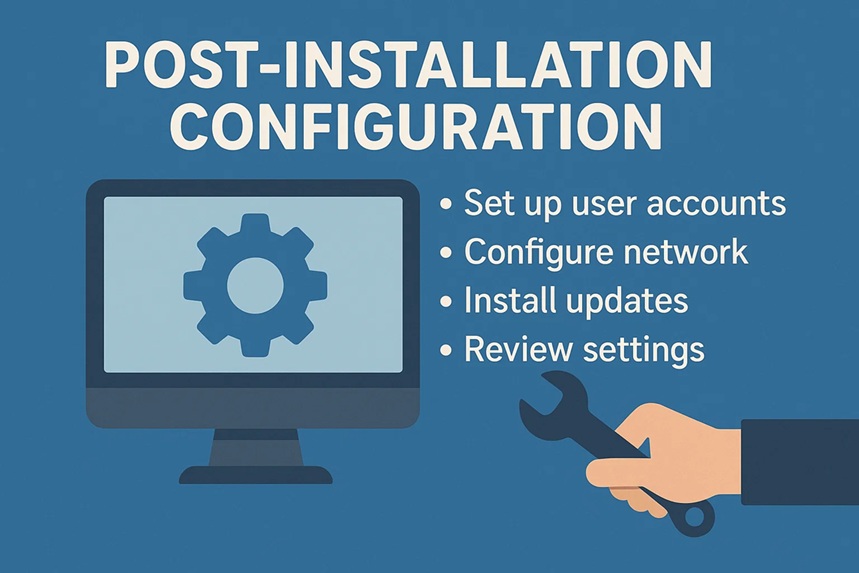
Install Necessary Drivers
Most 35-ds3chipdus3 modules require driver installation to function correctly. Download the latest drivers from the official website or use the provided installation CD. Always choose compatible drivers for your operating system.
Update Firmware
If the manufacturer provides firmware updates for the 35-ds3chipdus3, install them after initial setup. Updated firmware improves compatibility, fixes bugs, and enhances overall performance.
Perform System Diagnostics
Run system diagnostics to confirm the module is working properly. Check hardware status in your system’s BIOS or hardware manager to verify correct installation.
Common Installation Issues and Fixes
Module Not Detected
If your system does not detect the 35-ds3chipdus3 module, ensure it is properly seated in the slot. Try removing and reinserting it carefully. Also, confirm that your system BIOS supports the module.
System Fails to Boot
Sometimes, improper installation or incompatible firmware can cause boot failures. Remove the module and restart the system without it. Then, consult the manufacturer’s troubleshooting guide for further assistance.
Driver Conflicts
Old or incompatible drivers may conflict with the 35-ds3chipdus3 module. Always uninstall previous drivers and install the latest version compatible with your hardware.
Tips for Successful Installation
- Always use an anti-static wristband to prevent electrostatic discharge damage.
- Follow the official installation manual provided by the manufacturer.
- Avoid forcing the module into the slot if resistance is felt.
- Keep your workspace clean and free from dust or moisture.
- After installation, perform a full system restart to finalize hardware recognition.
Benefits of Installing 35-ds3chipdus3
Installing the 35-ds3chipdus3 module offers several benefits, including improved system performance, enhanced communication between components, and reduced latency in data processing. It ensures better system stability, making it an essential upgrade for high-performance systems. Proper installation also minimizes future maintenance requirements and extends hardware life.
Safety Precautions During Installation
- Disconnect power completely before opening your system.
- Avoid touching other sensitive components to prevent damage.
- Handle the 35-ds3chipdus3 module by its edges.
- Do not expose the module to direct sunlight or high humidity before installation.
- Follow recommended electrostatic discharge precautions.
Final Testing and Verification
Once the installation is complete, conduct a series of tests to ensure the module is functioning as expected. Monitor system performance for a few days to verify stability. If any abnormal behavior occurs, consult technical support or reinstall the module following the same steps.
Conclusion
Learning how to install 35-ds3chipdus3 is a straightforward process if you follow the right steps and take proper precautions. From pre-installation preparation to post-installation testing, each step plays a vital role in ensuring successful integration. By using the correct tools, following the manufacturer’s instructions, and troubleshooting effectively, you can maximize the performance and lifespan of your system. Whether for professional or personal use, installing the 35-ds3chipdus3 module correctly ensures a smooth and efficient operation.
Read More Blogs – Qugafaikle5.7.2 New Version – Everything You Need to Know